How to Make a Professional-Looking Patio…on a Dime
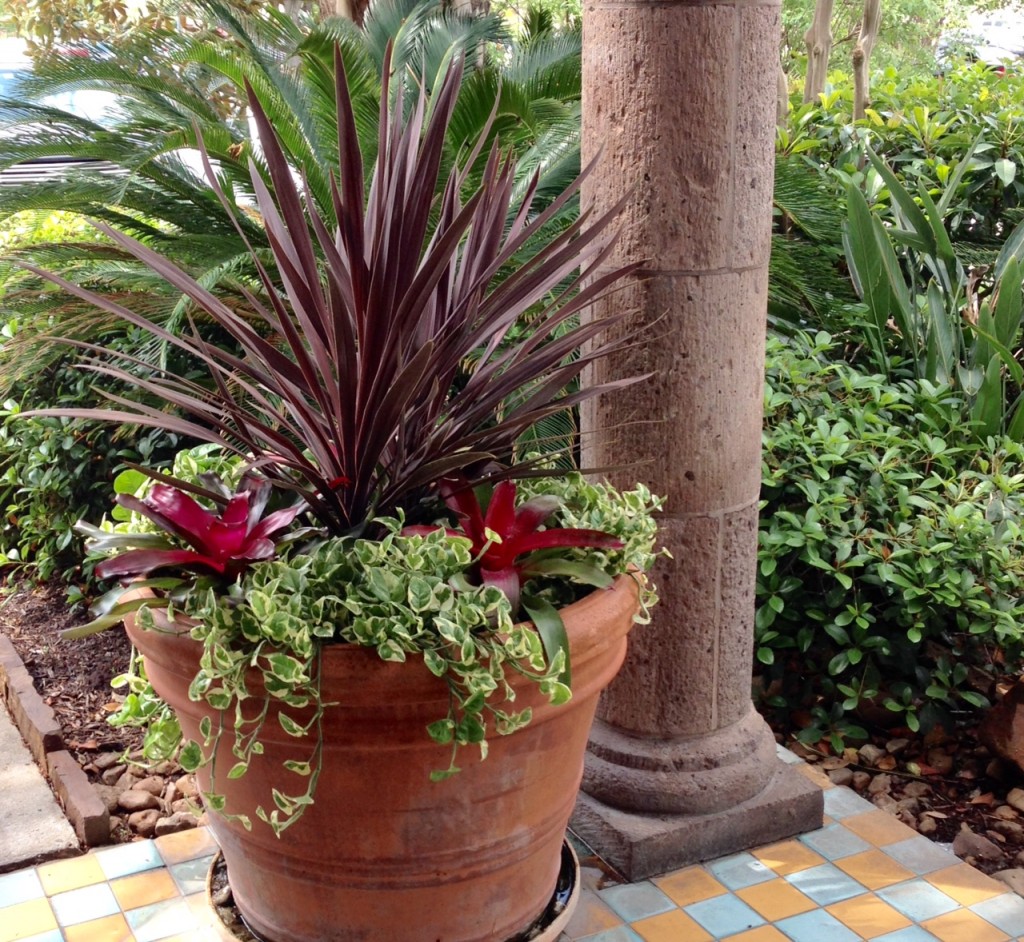
Photo taken at local restaurant.
You know the perks of being a blogger?
Having the freedom to send information … to you… every day.
What a wonderful feeling.
So after writing ‘serious’ articles all week long, I decided to lighten it up a little.
_______
It’s spring.
(And it is one of my favorite times of year now that my sons stopped playing baseball. But that’s a whole different post – for real.)
Remember my post back in April about my new Crate&Barrel elevated garden?
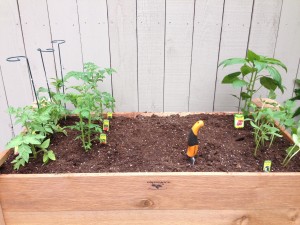
Here’s a photo to refresh your memory…
Taken the day we built the box and planted the vegetables.
Now you remember.
Everything in my backyard is small. In the miniature.
Gardens grow really well even in tiny, condensed spaces.
~~~~~~~~~~~~~~~~~~~
But even vegetable gardeners want a splash of color.
All yards, big or small, need flowering plants, lush greenery, and a variety of ornamental grasses.
My husband and I love to putsn around the yard. Prune the existing shrubs and plant new ones on the weekend. It’s therapy provided by nature.
______
So with a pint-sized yard, don’t you think the landscaping costs would be minimal?
After having many conversations with ladies about their landscaping bills, I was alarmed that their projected costs were slightly less than the costs to ‘do’ a Texas-size yard.
Here’s what one woman told me after receiving an emailed estimate.
“I had a tough decision to make. I could either get my landscaping…..Or put in a new bathroom addition for the same price.
(I think she was just kidding about the bathroom, but she made her point.) Tre`s Cher.
And this lady lives in a Zero-Lot-Line patio home with a ‘postage stamp’ backyard. (And she didn’t need a new bathroom.)
_____
So why bring this up?
Because I have a great idea that you can use this spring at your home.
_____
About 3 years ago, I saw a segment on television demonstrating how to have a great-looking patio – DIY style.
It’s beautiful. It’s easy. And, it’s inexpensive.
- Thriller: Use a tall plant which grows toward the sky.
- Filler: This is your low plant which grows horizontally, and covers the dirt.
- Spiller: Plant a graceful vine or ivy draping down the sides of your pot.
And there you have it. Voila.
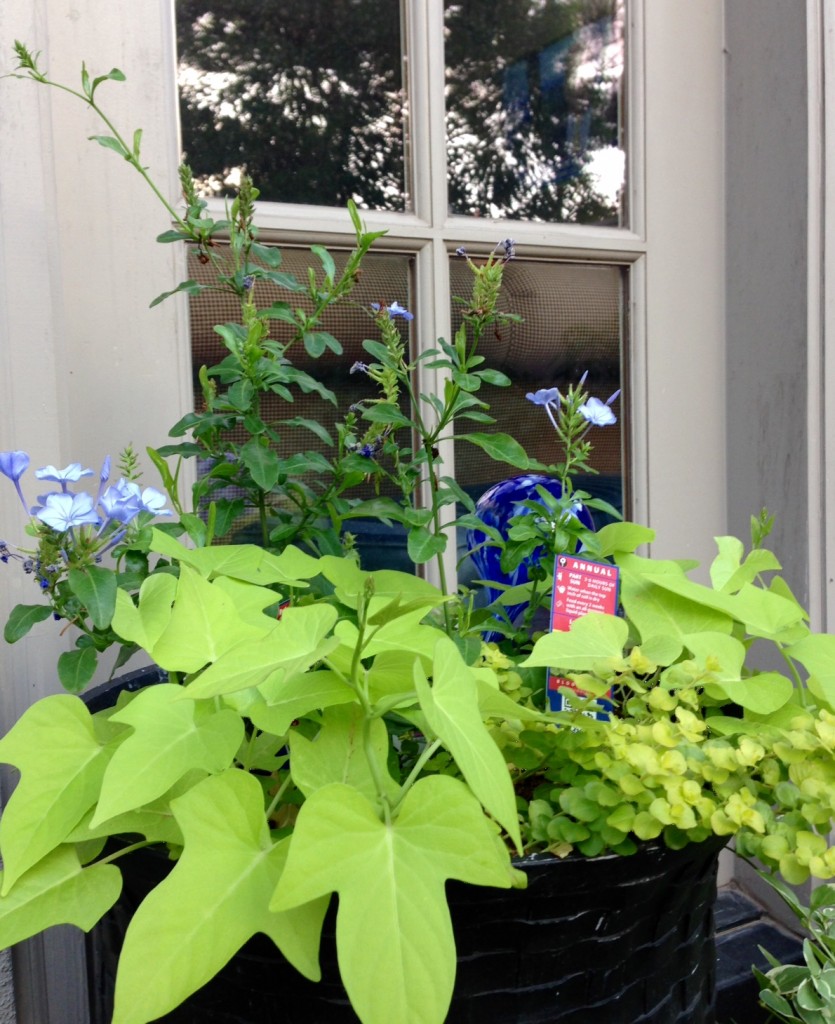
Here’s one I recently planted which has not reached maturity.
I realize it is not the magnitude of the professionally produced potted plant at the restaurant.
…but know this, I purchased the tall blue – thrillers for $1.00. These plants were on a rack in front of ACE Hardware on clearance.
To be completely honest, my husband was amused at my $1 thrillers because they originally looked like 2 barren sticks with four leaves before I planted them in rich soil.
Overall, I paid less than $3.00 for the fillers and spillers. 2 Bucks and some change for each. You will need, depending on the size of your container and your new plants, about 2 fillers and 2 spillers.
I like to place my decorative pots in groups of three
and on different levels.
And, I never match my containers – resulting in a more interesting, eclectic look.
Hey – I know this is not earth-shattering scientific information here.
But it’s fun to share.
I hope you can use this idea on your patio this spring.
Come back tomorrow for the serious stuff.
As always, I have a Friday – Short & Sweet – Inspiration Post designed just for you.


